

Yoast SEO is useful when you need practical WordPress guidance while you configure a site and prepare an individual page to publish. The important distinction is that an editor check is not the same as a sitewide verification. A page can look ready in the editor while a theme, taxonomy, canonical rule, sitemap, or internal-link pattern still creates a problem after publication.
Use Yoast SEO to set up the right defaults, make better page-level choices, and surface checks during writing. Then validate the live result across the site. That is how a content team keeps a green check from becoming a false finish line.
What Yoast SEO Can Help You Configure
Yoast's public product page positions the WordPress plugin around real-time SEO and readability feedback, XML sitemaps, schema output, social previews, canonical controls, and robots settings. Those are useful publishing surfaces because they move technical SEO decisions closer to the editor without asking every writer to inspect raw HTML.
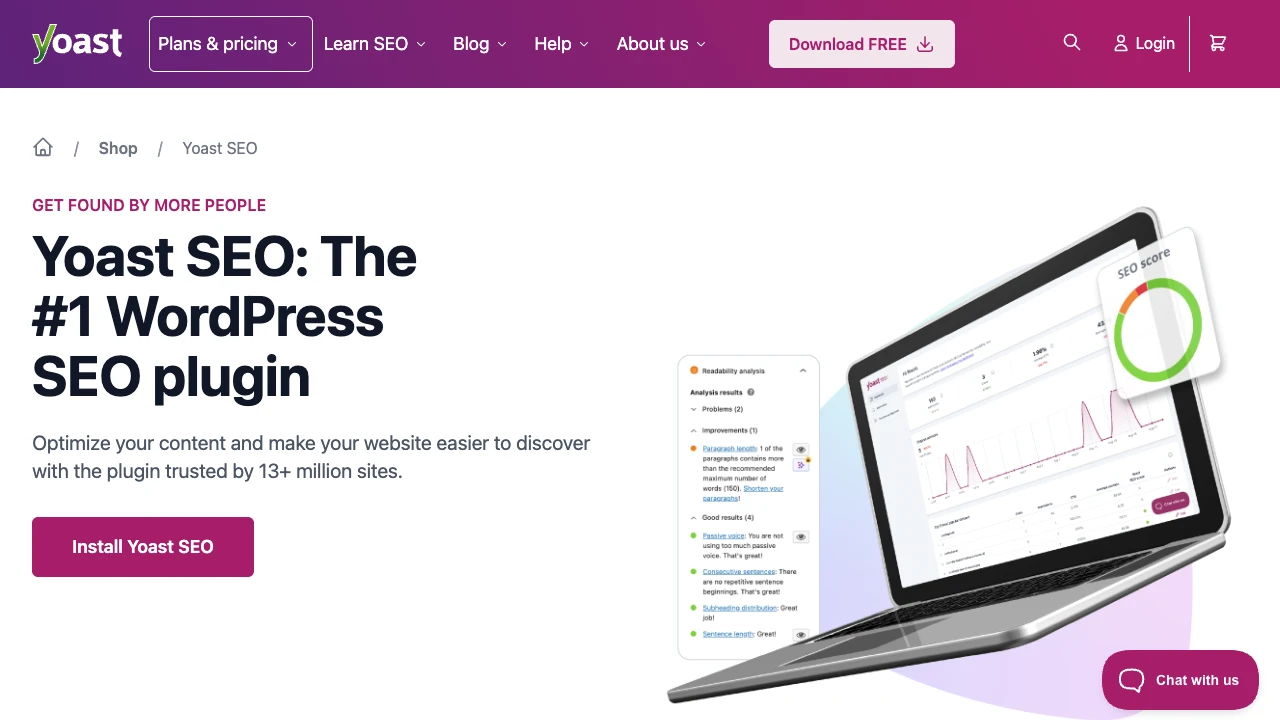
Use the plugin's own surfaces as a starting point:
| Publishing job | What Yoast SEO can help configure | What still needs live verification |
|---|---|---|
| Give a post a clear search presentation | Page title, meta description, and social preview controls | The rendered head, final canonical URL, and template output |
| Keep content focused | Editorial feedback about keyphrase use, links, and readability | Whether the page actually serves the intended query better than competing site pages |
| Make the site understandable | Site representation and structured-data settings | Whether public pages emit coherent markup and match the visible content |
| Help discovery | XML sitemap and indexability controls | Whether the sitemap contains only the URLs you want crawled and indexed |
| Prevent accidental duplication | Canonical and robots controls | Whether variants, archives, parameters, and redirects agree across the live site |
The product page is the right source for what Yoast exposes in WordPress. It is not proof that every live URL is crawlable, internally discoverable, or selected by search engines as intended. Keep that boundary clear from the first setup step.
Start With Configuration, Not Per-Post Scores
Before optimizing a single article, complete the plugin's site-level configuration. The official Yoast first-time configuration guide describes a workflow around SEO data optimization, site representation, social profiles, and personal preferences. That sequence is more useful than immediately chasing individual post scores because it establishes the context behind later recommendations.
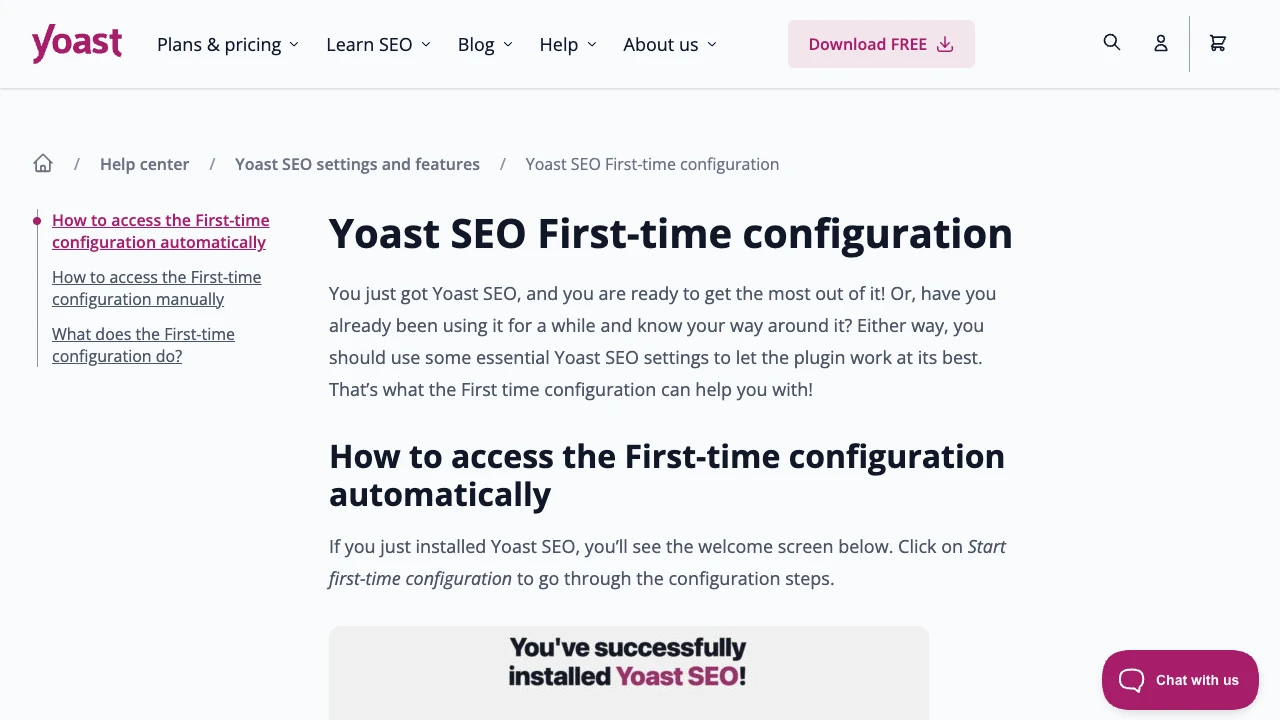
Use this setup pass:
- Install and activate Yoast SEO from the WordPress plugins screen.
- Run the first-time configuration and make the site representation match the real organization or person behind the site.
- Review the global settings for content types, taxonomies, search appearance, and social appearance. The official configuration guide is the safer reference when a setting affects more than one post.
- Decide which post types, archives, and taxonomies deserve indexing before a team creates more URLs.
- Document the owner for changes that require theme, plugin, or hosting access rather than an editor field.
This makes Yoast SEO useful as a publishing system instead of a collection of isolated checklists. A writer can then work inside a deliberate content model rather than guessing which settings are safe to change.
Use Editor Checks as Feedback, Not a Release Gate
When you are editing a post, start with the reader's job. The plugin can help surface missing elements, but it cannot determine whether the article is the right page type, whether a sibling URL already owns the query, or whether the page offers enough evidence to be useful.
For every important post, answer these questions before publishing:
| Editorial question | Better response than chasing a score |
|---|---|
| Does the title promise the same task as the page? | Put the direct answer and useful next step near the beginning. |
| Is the target phrase natural? | Use the phrase where it clarifies the page, then write for the actual question rather than repetition. |
| Are links helping a reader move forward? | Add only the internal links that support the next decision or task. |
| Is the preview accurate? | Check titles, descriptions, images, and canonical URL after the public page renders. |
| Is the content trustworthy enough to cite? | Add visible source context, examples, and clear ownership instead of generic claims. |
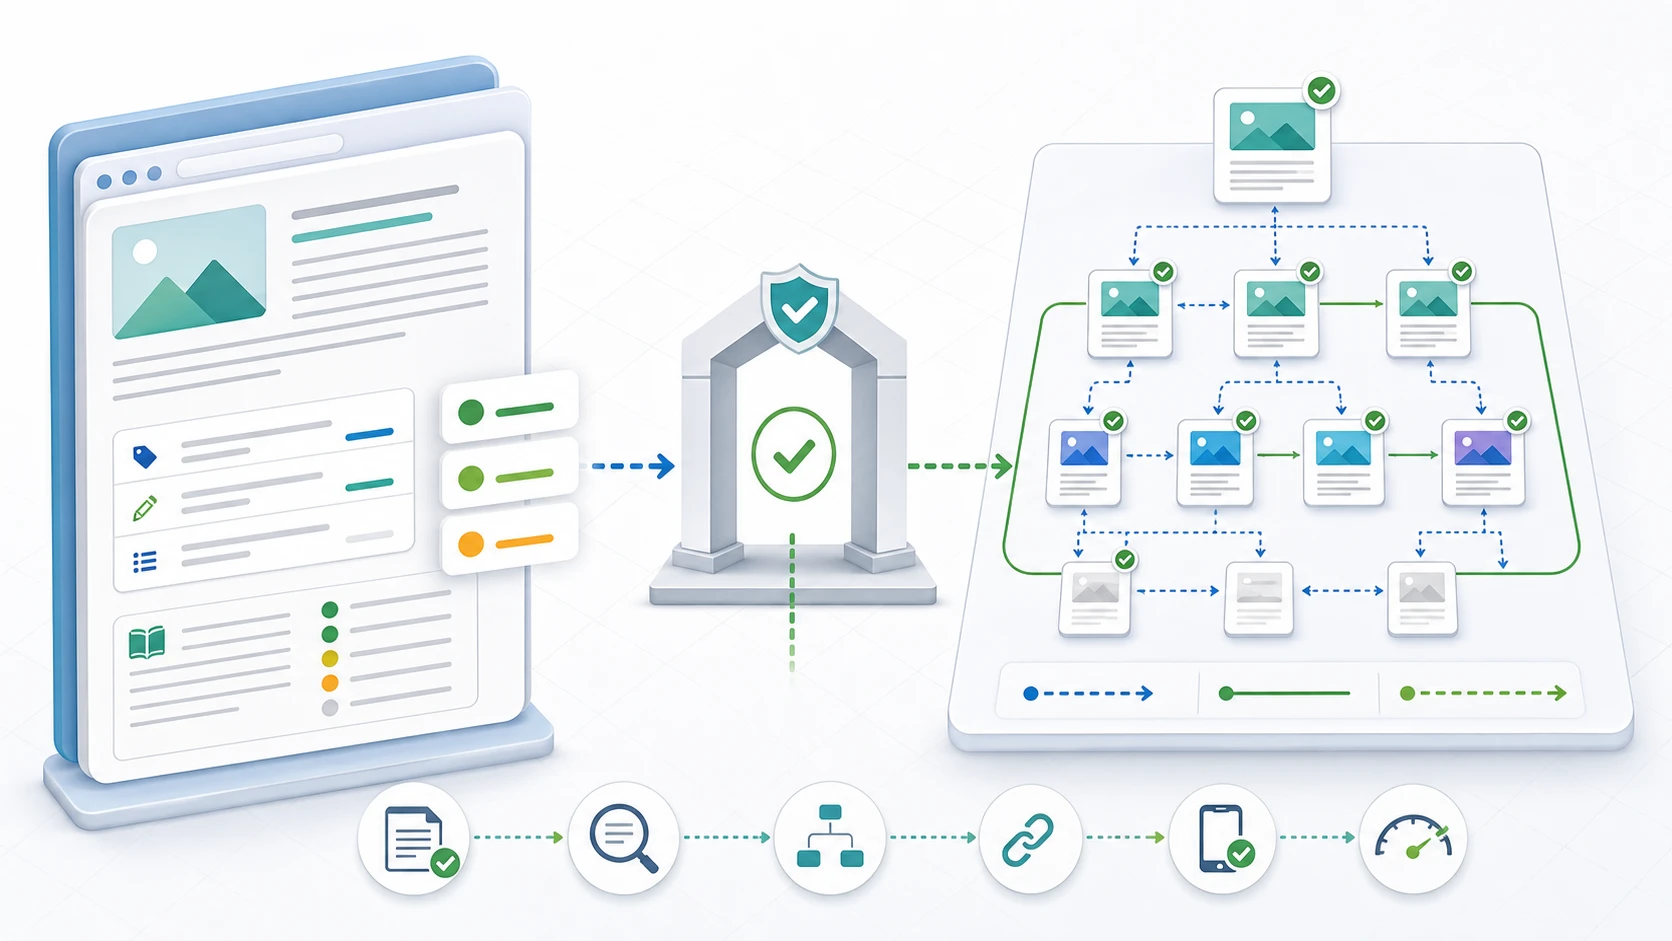
The useful output is a publishable page with a defined job. A positive editor signal can support that decision, but it should not overrule search intent, duplicate risk, or a technically broken live result.
Add a Sitewide Validation Pass
Yoast SEO can help set controls, but a WordPress site can still drift through theme changes, archived content, template exceptions, redirects, and older plugin settings. Add a validation pass whenever you change a template, a global setting, or a substantial batch of content.
Use this split between configuration and proof:
| Area | Verify on the live site | Useful next action |
|---|---|---|
| Canonicals | Confirm the rendered canonical, redirect target, and alternate URL variants agree | Follow a canonical tags audit workflow before assuming the editor field won |
| Indexability | Check robots directives, response status, and whether the intended page can be reached by a crawler | Investigate template exceptions and accidental noindex rules |
| XML sitemaps | Inspect which URLs appear, whether they resolve, and whether excluded pages stay out | Compare the plugin output with an XML sitemap generator workflow |
| Internal discovery | Find isolated pages, weak hubs, and navigation paths that do not expose important content | Link the page from the closest useful parent, not from a random footer |
| Template quality | Sample titles, descriptions, headings, structured data, and pagination across similar URLs | Fix the shared template when the same fault repeats |
| Search and AI readiness | Check whether the visible page, HTML signals, and internal context tell one consistent story | Repair the source page before adding more copy to compensate |
The official Yoast XML sitemap documentation explains where its sitemap is exposed. That is useful setup knowledge. It does not replace checking whether the URLs in that sitemap are the URLs you actually want people and crawlers to find.
For a WordPress content team, this is the practical distinction: configure at the CMS layer, then inspect the released site. The related WordPress SEO workflow is a useful starting point when the bigger job is keeping publication, crawlability, and content operations connected.
Publish, Crawl, and Recheck
Treat publication as the beginning of the verification loop, not its end. A lightweight release pass can be enough for a small edit; a template or migration change needs a broader crawl.
- Preview the final public URL and confirm the visible title, description, main heading, and share image match the page's job.
- Check the canonical URL, robots directives, and HTTP response before you declare the page ready to index.
- Inspect the XML sitemap entry and confirm it points to the preferred URL rather than a redirect or duplicate variant.
- Crawl the relevant page group after a template, plugin, navigation, or taxonomy change.
- Review orphaned pages, repeated metadata, broken links, and internal-link depth in the crawl output.
- Turn recurring faults into an owned fix queue, then rerun the smallest crawl that proves the fix.

This loop protects a team from two opposite mistakes: ignoring helpful editor guidance, or believing that guidance can see every sitewide failure. Yoast SEO makes the first part easier. A crawl and an explicit review process make the second part observable.
Where Searvora Fits
Searvora is not a replacement for your WordPress editor. It is the validation layer for the questions an editor panel cannot answer alone: which live URLs are indexable, which canonical patterns disagree, where internal discovery is weak, and whether a recurring template defect affects a whole group of pages.
Use the SEO Spider Crawler after setup and after meaningful site changes to turn those checks into a crawlable inventory and an actionable queue. That gives writers, developers, and SEO owners a shared view of what changed on the public site.
A Practical Yoast SEO Checklist
Before a new WordPress post or a sitewide configuration change goes live:
- Complete the first-time configuration and make the site representation accurate.
- Set the page title, meta description, canonical preference, and social preview for the page's actual job.
- Use editor feedback to improve clarity, not to force repeated keyphrases.
- Add internal links that help a reader reach the next relevant task.
- Confirm the rendered public page has the expected title, description, canonical, and indexability.
- Inspect XML sitemap output after changing global visibility or content-type settings.
- Crawl the affected page group after template, navigation, plugin, or taxonomy changes.
- Assign repeated failures to an owner and rerun the check that verifies the fix.
Yoast SEO is most useful when it helps a team publish with more discipline. Pair it with a sitewide validation loop, and the plugin becomes part of a dependable WordPress SEO workflow instead of a score to chase.